The Honeywell TH8320U1008 is a programmable thermostat with a touch screen‚ designed for energy efficiency and easy operation. It offers precise temperature control and is suitable for various HVAC systems.
1.1 Overview of the Touch Screen Programmable Thermostat
The Honeywell TH8320U1008 features an 8.8-square-inch blue backlit touchscreen‚ offering intuitive control for programmable temperature settings. Designed for energy efficiency‚ it provides precise temperature management and is compatible with various HVAC systems. The device includes a dual-powered system‚ flexible scheduling options‚ and an easy-to-navigate interface‚ ensuring user convenience and optimal performance.
1.2 Importance of Proper Installation
Proper installation of the Honeywell TH8320U1008 is critical for ensuring optimal performance‚ safety‚ and energy efficiency. Incorrect installation can lead to system malfunctions‚ safety hazards‚ or reduced efficiency. Always follow the manual’s guidelines‚ and ensure the thermostat is installed by a trained technician. This guarantees correct wiring‚ mounting‚ and configuration‚ preventing potential damage and ensuring reliable operation.

Pre-Installation Requirements
Before installing the Honeywell TH8320U1008‚ ensure compatibility with your HVAC system‚ gather necessary tools‚ and disconnect power to avoid hazards. Proper preparation ensures a smooth installation process.
2.1 Understanding the Wallplate
The wallplate is the base unit installed on the wall‚ serving as the mounting point for the thermostat. It contains the wiring terminals and must be securely fastened to ensure proper functionality. The wallplate is separated from the thermostat during installation and must be leveled for accurate temperature sensing and system operation.
2.2 Gathering Necessary Tools and Materials
To begin‚ gather a drill with 3/16 and 7/32 bits for drywall and plaster. A level is essential for proper wallplate alignment. Ensure you have wall anchors and screws for secure mounting. Fresh batteries are recommended for backup power. These tools and materials will ensure a smooth and efficient installation process for your Honeywell TH8320U1008 thermostat.
Wallplate Installation
Separate the wallplate from the thermostat and mount it securely on the wall. Ensure proper alignment and level placement before drilling holes and securing with anchors or screws.
3.1 Separating the Wallplate from the Thermostat
To separate the wallplate from the thermostat‚ grasp the top and bottom edges firmly and pull straight away. This ensures a clean detachment without damaging the unit. Once separated‚ the wallplate is ready for installation on the wall‚ following the provided mounting guide.
3.2 Mounting the Wallplate on the Wall
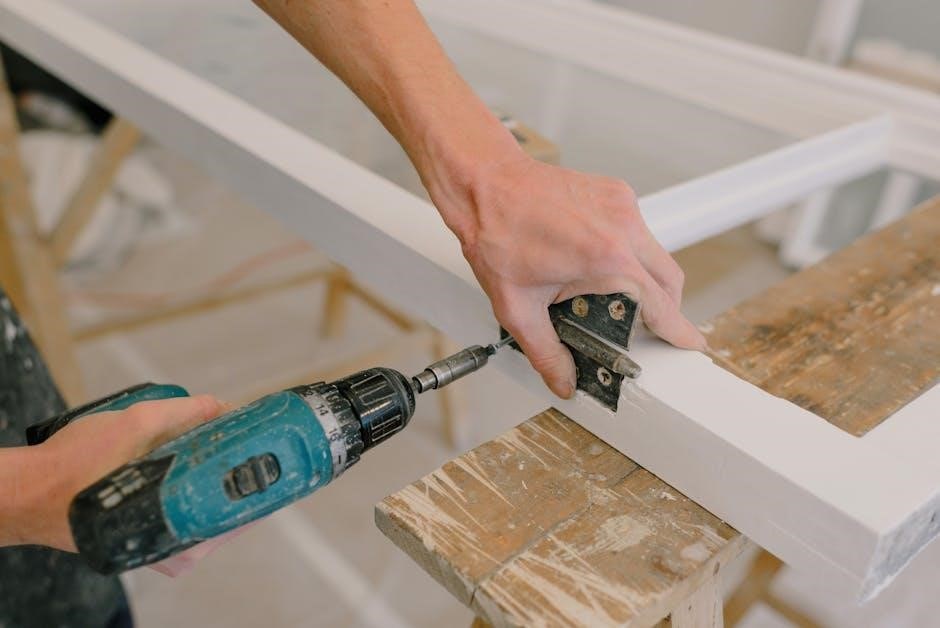
Mount the wallplate by drilling 3/16-inch holes for drywall or 7/32-inch holes for plaster. Use a level to ensure proper alignment. Secure the wallplate with provided screws‚ tightening firmly. Make sure the unit is positioned correctly‚ with the thermostat area aligned for proper installation and functionality.
3.3 Drilling Holes for Drywall and Plaster
Use a 3/16-inch drill bit for drywall or a 7/32-inch bit for plaster. Mark the wall with a pencil‚ ensuring the holes are level and aligned properly. Drill straight through the marked points‚ taking care not to angle the bit. This ensures secure installation and avoids damage to surrounding material. Vacuum debris for a clean fit.

Wiring and Connections
Ensure power is disconnected before wiring. Match terminal letters (R‚ W‚ Y‚ G‚ C) on the thermostat with your HVAC system. Secure all connections tightly for reliable operation.
4.1 Identifying Terminal Letters (R‚ W‚ Y‚ G‚ C)
Identify terminal letters to ensure proper wiring: R (heating power)‚ W (heating)‚ Y (cooling)‚ G (fan)‚ and C (common). Match these with your HVAC system’s wires to avoid errors. Verify connections using the installation manual for compatibility. Proper identification ensures safe and efficient operation of the thermostat.
4.2 Connecting Wires to the Correct Terminals
Connect wires to the correct terminals (R‚ W‚ Y‚ G‚ C) as per your HVAC system. Ensure R (heating power) is connected to the correct terminal. Securely attach wires to avoid loose connections. Double-check wiring against the manual to prevent errors. Proper connections ensure safe and efficient thermostat operation. Disconnect power before starting to avoid electrical hazards.

System Configuration
Configure the system by selecting manual or automatic changeover modes. Set heating and cooling stages (up to 3 heat‚ 2 cool). Adjust settings for optimal performance.
5.1 Manual vs. Automatic Changeover
Choose between manual (Mode 0) or automatic (Mode 1) changeover. Manual mode requires switching between heat‚ cool‚ or off. Automatic mode enables the system to switch between heating and cooling based on the set temperature‚ optimizing energy efficiency and convenience. Select the mode that best fits your HVAC system and usage preferences for seamless operation.
5.2 Setting Up the Thermostat’s Operating Mode
Navigate to the system settings menu to configure the operating mode. Choose between heating‚ cooling‚ or automatic changeover. For optimal performance‚ select the mode that aligns with your HVAC system type. Use the touch screen to adjust settings like temperature range and fan operation. Ensure the mode is correctly set to match your system configuration for proper functionality and energy efficiency.
Programming the Thermostat
Programming the Honeywell TH8320U1008 allows you to create custom temperature schedules‚ optimizing comfort and energy efficiency. Use the touch screen to set preferences and adjust as needed.
6.1 Creating a Custom Temperature Schedule
Creating a custom temperature schedule on the Honeywell TH8320U1008 involves setting preferred temperatures for different times of the day. Use the touch screen to navigate to the scheduling menu‚ select the day(s)‚ and choose the desired temperature points. This feature allows you to balance comfort and energy efficiency by adjusting settings based on your daily routine.
6.2 Adjusting the Schedule for Energy Efficiency
Adjust the temperature schedule to optimize energy usage by setting higher temperatures during absences and lower at night. Use the touchscreen to modify time periods and temperatures‚ ensuring settings align with your lifestyle. This feature helps reduce energy consumption while maintaining comfort‚ leading to potential savings on utility bills without sacrificing convenience or performance.
Advanced Features
The Honeywell TH8320U1008 offers advanced features like touchscreen navigation‚ programmable comfort control‚ and energy-saving modes. It supports dual-powered systems and flexible scheduling for optimal performance and efficiency.
7.1 Understanding Deadband Adjustment
Deadband adjustment sets the temperature range between heating and cooling cycles‚ preventing frequent switching. This feature optimizes energy use and system longevity by maintaining a stable temperature differential. Adjusting the deadband ensures your HVAC system operates efficiently without unnecessary cycles‚ enhancing comfort and energy savings.
7.2 Configuring Other Advanced Settings
Configure additional advanced features like custom temperature schedules‚ remote access via the Honeywell Home app‚ and system mode settings. Adjust fan operation‚ humidity control‚ and energy usage reports for enhanced comfort and efficiency. These settings allow personalized control over your HVAC system‚ ensuring optimal performance tailored to your preferences and energy-saving goals.
Maintenance and Troubleshooting
Regular maintenance ensures optimal performance. Clean the touchscreen gently with a soft cloth and install fresh batteries for backup power. Troubleshoot issues by checking power sources and system connections.
8.1 Installing Batteries for Backup Power
Install fresh batteries (optional) to provide backup power if the thermostat is wired to run on AC power. Use the recommended battery type and ensure correct orientation. Access the battery compartment as instructed‚ replace batteries‚ and close securely. The thermostat will alert you when batteries are low‚ ensuring continuous operation during power outages.
8.2 Cleaning and Maintaining the Touchscreen
Regularly clean the touchscreen to ensure optimal performance. Power off the thermostat before cleaning. Use a soft‚ dry cloth to wipe the screen. For tougher smudges‚ lightly dampen the cloth with water‚ but avoid harsh chemicals or abrasive materials. Never spray liquids directly on the screen. Cleaning maintains responsiveness and clarity‚ ensuring precise temperature control and ease of use over time.
8.3 Basic Troubleshooting Steps
Start by checking the circuit breaker or fuse box if the thermostat display is blank. Ensure the power switch at the HVAC system is on and the furnace door is securely closed. Verify proper wiring connections and consult the manual for terminal assignments. If issues persist‚ reset the thermostat or contact a professional for further assistance. Regular checks help maintain smooth operation.
Energy Efficiency and Savings
The Honeywell TH8320U1008 reduces energy consumption through programmable scheduling and smart temperature adjustments‚ optimizing HVAC performance for maximum efficiency and cost savings.
9.1 How the Thermostat Reduces Energy Consumption
The Honeywell TH8320U1008 reduces energy consumption through programmable scheduling‚ allowing users to set specific temperature adjustments during peak and off-peak times. Its smart temperature control ensures the HVAC system operates only when needed‚ optimizing performance and minimizing unnecessary energy use. This tailored approach helps lower utility bills while maintaining comfort.
9.2 Monitoring and Adjusting Usage
The Honeywell TH8320U1008 allows users to monitor energy usage through its touchscreen interface‚ providing insights into heating and cooling patterns. By analyzing this data‚ users can adjust temperature settings‚ scheduling‚ and system modes to optimize energy consumption. Regular adjustments ensure efficient operation‚ balancing comfort with energy savings and promoting sustainable usage habits year-round.
Safety Precautions
Always disconnect power before installation and ensure safe wiring practices to avoid hazards. Follow manual instructions strictly to prevent damage or unsafe operating conditions.
10.1 Disconnecting Power Before Installation
Disconnecting power before installation is crucial to ensure safety and prevent damage. Locate and switch off the circuit breaker or remove fuses controlling the HVAC system. Verify the power switch at the heating and cooling system is in the off position. Always confirm the system is powered down before starting any work to avoid electrical hazards or injuries.
10.2 Ensuring Safe Wiring Practices
Ensure safe wiring by following proper connections and verifying compatibility with your HVAC system. Connect wires to the correct terminals (R‚ W‚ Y‚ G‚ C) as specified in the manual. Remove the factory-installed jumper for two-transformer systems to prevent damage. Use 3/16-inch holes for drywall and 7/32-inch holes for plaster. Secure all connections tightly and avoid short circuits. Always consult a licensed technician if unsure about wiring configurations to ensure safety and proper functionality.
Warranty and Support
Honeywell offers a comprehensive warranty for the TH8320U1008 thermostat. For support‚ contact Honeywell’s customer service directly through their official website or the provided contact information in the manual.
11.1 Understanding the Product Warranty
The Honeywell TH8320U1008 thermostat comes with a limited warranty covering defects in materials and workmanship. The warranty period varies but typically ranges from 1 to 5 years‚ depending on the model and usage. It includes repair or replacement of defective parts at no cost to the user. Registration may be required to activate the warranty. Damages due to improper installation or misuse are not covered. Always refer to the manual for specific terms and conditions.
11.2 Contacting Honeywell Customer Support
For assistance with the Honeywell TH8320U1008‚ contact customer support via phone‚ email‚ or through their official website. Visit the Honeywell website for regional contact details and support options; Additionally‚ online resources‚ FAQs‚ and troubleshooting guides are available to address common issues. Registered products may receive priority support‚ ensuring timely resolution to any queries or concerns regarding the thermostat.
Additional Resources
Access Honeywell’s official website for comprehensive guides‚ manuals‚ and video tutorials. Utilize online resources to troubleshoot and optimize your thermostat’s performance effectively.
12.1 Accessing Online Guides and Manuals
Honeywell provides comprehensive online resources‚ including PDF manuals and installation guides‚ for the TH8320U1008 thermostat. Visit Honeywell’s official website to download the latest versions of the Adobe Reader-compatible manuals. These documents offer detailed instructions for installation‚ configuration‚ and troubleshooting‚ ensuring seamless setup and optimal performance of your thermostat.
12.2 Utilizing Video Tutorials for Assistance
Video tutorials are an excellent resource for installing and configuring the Honeywell TH8320U1008 thermostat. Available on Honeywell’s official website and platforms like YouTube‚ these tutorials provide step-by-step visual guidance‚ covering installation‚ wiring‚ and programming. They are ideal for users who prefer hands-on learning‚ ensuring a smooth setup and helping to troubleshoot common issues effectively.