
Carrier Edge Thermostat Installation Manual: A Comprehensive Guide
This manual provides detailed instructions for installing the Carrier Edge Thermostat, ensuring safe and proper setup․ It covers wiring, system compatibility, and advanced configuration options, making it user-friendly for both professionals and DIY enthusiasts․ Follow the steps carefully to achieve optimal performance and energy efficiency․ Always adhere to safety guidelines and local electrical codes during installation․ This guide is designed to help you navigate the process seamlessly, from preparation to final testing․
Welcome to the Carrier Edge Thermostat Installation Manual, your comprehensive guide to installing and configuring your new thermostat․ This manual is designed to help you understand the process, ensuring a safe and efficient setup․ Whether you’re a professional installer or a DIY enthusiast, this guide provides detailed steps to prepare, install, and configure your thermostat․ It covers essential safety considerations, system requirements, and advanced features․ Follow the instructions carefully to optimize your thermostat’s performance and enjoy enhanced comfort and energy savings․ Before starting, review all safety guidelines and ensure compatibility with your HVAC system․ This manual is organized into clear sections, making it easy to navigate from preparation to final testing․ Proceed with confidence and make the most of your Carrier Edge Thermostat․

System Requirements and Compatibility
Ensure your HVAC system is compatible with the Carrier Edge Thermostat before installation․ It works seamlessly with Carrier Hybrid Heat systems, offering enhanced performance and efficiency․ The thermostat is designed to integrate with various heating and cooling systems, including gas furnaces, heat pumps, and air conditioning units․ For proper functionality, verify that your system meets the voltage and wiring requirements․ The thermostat supports 22 AWG wiring and is compatible with both single-stage and multi-stage systems․ Additionally, it works with humidification and dehumidification systems for improved indoor air quality․ Always check local electrical codes and safety standards to ensure compliance․ Compatibility with the ExP Edge Expansion Port allows for future upgrades and advanced features․ This thermostat is a versatile solution for modern HVAC systems, providing optimal performance and energy efficiency․
Installation Process
The Carrier Edge Thermostat installation involves ensuring safety, following manufacturer guidelines, and proper wiring to achieve optimal performance and energy efficiency․ Compatible with Hybrid Heat systems․
Preparation and Safety Considerations
Before installing the Carrier Edge Thermostat, ensure the system is powered off at the mains to avoid electrical hazards․ Gather all necessary tools and materials, and read the manual thoroughly․ Disconnect wires carefully, labeling them for easy reconnection․ Ensure the system is cool to prevent burns or injuries․ Always follow local electrical codes and manufacturer instructions to avoid safety risks․ Never improvise or bypass safety guidelines, as this could lead to system damage or personal harm․ Proper preparation ensures a smooth and safe installation process․ This section is crucial for a successful and hazard-free setup of your Carrier Edge Thermostat․
Tools and Materials Needed
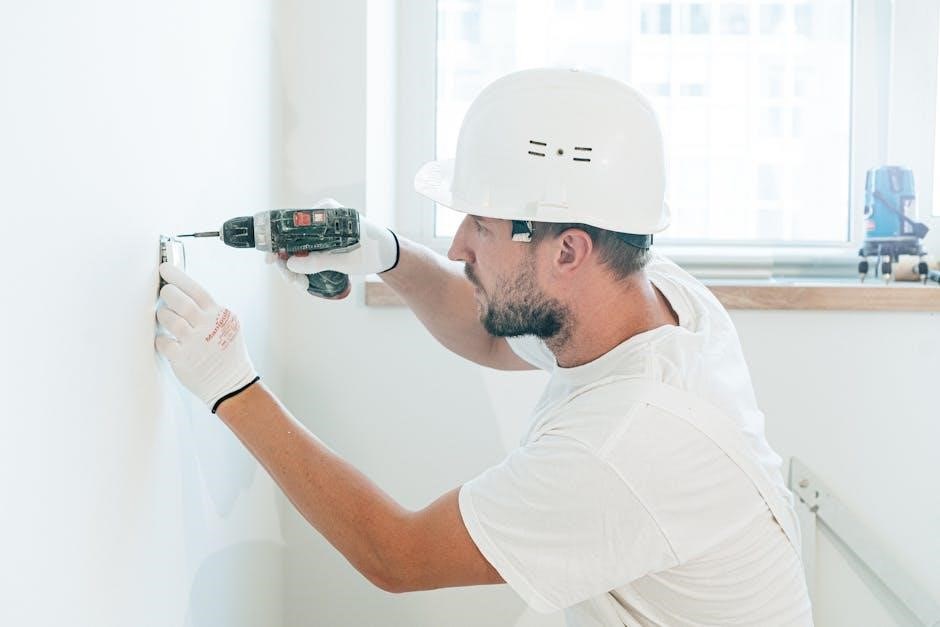
To install the Carrier Edge Thermostat, you will need a few essential tools and materials․ Start with a screwdriver set, including Phillips and flathead screwdrivers, to handle mounting and wiring tasks․ Wire strippers and pliers are necessary for preparing and connecting wires safely․ A voltage tester is recommended to ensure power is off before starting work․ Additionally, gather a drill and wall anchors for securing the thermostat mount․ Safety gear, such as gloves and goggles, is crucial for protecting yourself during the process․ Ensure all materials from the thermostat kit, like the backplate and mounting hardware, are accounted for․ Having these tools and materials ready will streamline the installation and minimize potential delays․ Proper preparation ensures a smooth and efficient setup of your Carrier Edge Thermostat․
Step-by-Step Installation Instructions
Begin by turning off the power to your HVAC system at the circuit breaker or fuse box․ Remove the old thermostat and carefully label the wires for identification․ Install the new mounting plate on the wall, ensuring it is level and secure․ Connect the wires to the appropriate terminals on the Carrier Edge Thermostat, referring to the wiring diagram provided․ Mount the thermostat onto the plate, ensuring it clicks securely into place․ Restore power and test the system by setting different temperatures to confirm proper operation․ Refer to the user manual for specific programming instructions․ If unsure, consider consulting a licensed professional․ Proper installation ensures optimal performance and energy efficiency․

Wiring and Electrical Connections

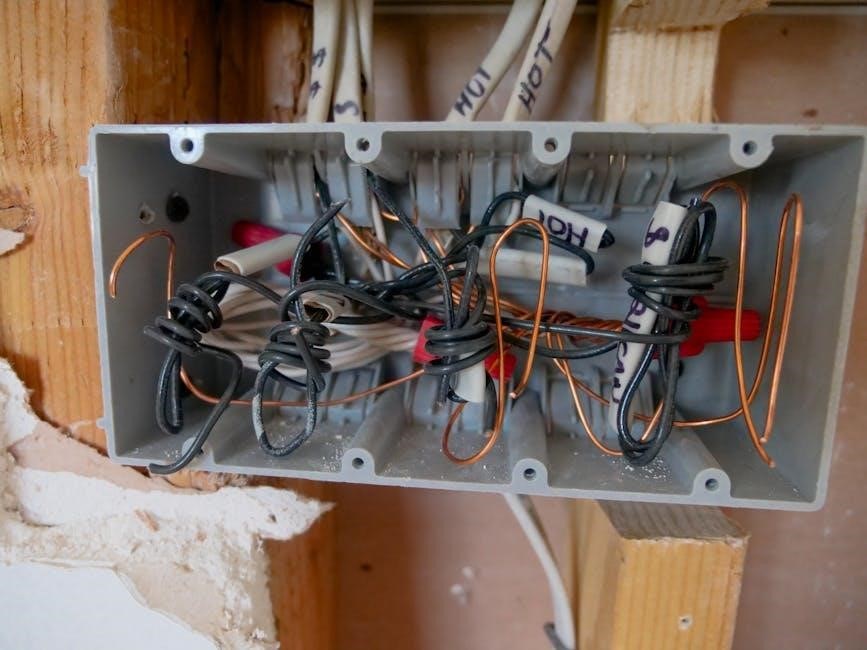
Ensure the power to your HVAC system is turned off at the circuit breaker before starting․ Identify and label the wires from your old thermostat to avoid confusion․ Refer to the wiring diagram provided in the Carrier Edge Thermostat manual to match the wires to the correct terminals․ Connect the wires securely to the appropriate terminals on the new thermostat, following the manufacturer’s instructions․ Verify that all connections are tight and properly insulated․ If your system requires a common wire (C-wire), ensure it is connected to maintain consistent power․ After wiring, restore power and test the system to ensure proper functionality․ Always follow local electrical codes and safety guidelines to prevent hazards․ Incorrect wiring can damage the thermostat or your HVAC system, so double-check all connections before proceeding․
Mounting the Thermostat
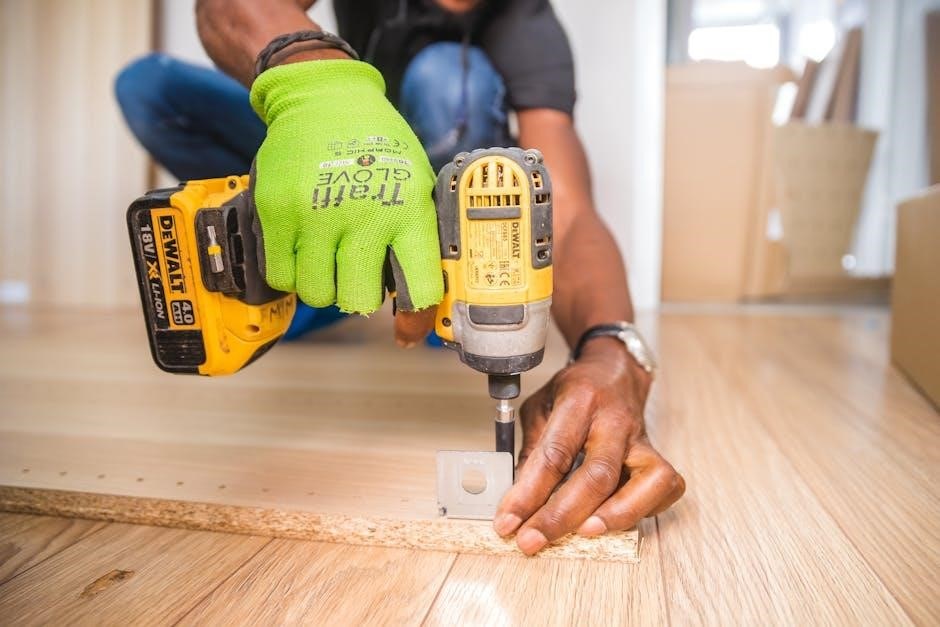
Begin by ensuring the wall surface is level and clean․ Remove any debris or old adhesive from the area where the thermostat will be mounted․ Use the provided backplate and screws to secure it to the wall, ensuring it is straight and level․ If necessary, drill pilot holes to avoid damaging the wall․ Snap the Carrier Edge Thermostat onto the backplate by aligning the tabs on the bottom edge and hinging it upward until it clicks into place; Ensure the device is securely attached and properly aligned․ Check that the thermostat is flush with the wall for a clean installation․ If the wall surface is uneven, adjust the backplate accordingly․ Once mounted, verify that the thermostat is stable and ready for wiring and configuration․ Proper mounting ensures accurate temperature readings and reliable performance․ Always follow the manufacturer’s guidelines for a secure installation․ This step is crucial for the thermostat’s functionality and longevity․
Final Checks and Testing
After completing the installation, perform a thorough inspection to ensure all connections are secure and properly wired․ Turn on the power supply and verify that the thermostat display lights up and functions correctly․ Test the heating and cooling modes to confirm they activate as expected․ Check for any leaks around the connections or condensate lines․ Ensure the system operates smoothly and quietly․ Review the thermostat settings to confirm they align with your preferences․ Test the programmable features, if applicable, to ensure they work as intended․ Finally, run a full cycle test to verify the system’s performance․ If any issues arise, refer to the troubleshooting guide for assistance․ Proper testing ensures your Carrier Edge Thermostat is installed correctly and functions optimally for your comfort and energy efficiency․

Configuration and Setup
Configure your Carrier Edge Thermostat by setting up preferences, scheduling, and advanced features․ Program temperature settings, enable smart modes, and integrate with Carrier systems for optimal performance․
Programming the Thermostat
Programming the Carrier Edge Thermostat allows you to customize temperature settings for different periods of the day․ Set up to four daily schedules or opt for a 7-day programmable option․ Adjust heating and cooling setpoints, enabling energy-saving modes․ Use the touchscreen interface to input preferences, ensuring your home remains comfortable while optimizing energy usage․ Advanced features like geofencing and smart recovery can also be activated․ Refer to the manual for detailed step-by-step instructions to program your thermostat effectively․ Always ensure settings align with your lifestyle and local climate conditions for maximum efficiency and comfort․
Advanced Configuration Options
The Carrier Edge Thermostat offers advanced configuration options to enhance functionality and customization․ Utilize the ExP Edge Expansion Port to integrate additional features, such as humidity control or smart home system compatibility․ Configure settings for hybrid heat systems, enabling seamless operation between heating and cooling units․ Advanced options also include geofencing, smart recovery, and custom temperature parameters for optimal energy efficiency․ These features allow the thermostat to adapt to your lifestyle and preferences, ensuring maximum comfort․ Refer to the manual for detailed instructions on activating and customizing these settings to maximize performance and efficiency․
Troubleshooting Common Issues
Experiencing issues with your Carrier Edge Thermostat? Start by checking the power supply and ensuring all wiring connections are secure․ If the thermostat fails to turn on, verify that the circuit breaker hasn’t tripped․ For temperature inaccuracies, calibrate the sensor or ensure proper installation․ Connectivity problems with smart features can often be resolved by restarting the thermostat or checking your Wi-Fi network․ If the system doesn’t respond to temperature adjustments, review the wiring configuration and ensure it matches your HVAC system type․ Consult the manual for specific error codes and solutions․ For persistent issues, contact Carrier support or a certified technician for assistance․ Regular maintenance and updates can prevent many common problems, ensuring optimal performance․
Maintenance and Upkeep
Regular maintenance ensures your Carrier Edge Thermostat operates efficiently and lasts longer․ Clean the thermostat’s surface and sensors with a soft cloth to prevent dust buildup․ Check wiring connections periodically to ensure they are secure and free from corrosion․ Replace batteries (if applicable) as indicated by low-battery alerts․ Update the thermostat’s software when new updates are available to access the latest features․ Inspect the system’s air filters and replace them as needed to maintain proper airflow․ For advanced models, calibrate the temperature sensor annually for accuracy․ Refer to the manual for specific maintenance schedules and procedures․ Addressing minor issues promptly prevents larger problems, ensuring reliable performance and energy efficiency․ Schedule professional inspections every 2-3 years for optimal system health․